 I like creating textures that I can use in my design and illustration work. I like to create them with traditional methods and scan them. For me, this method is easier than using digital brushes in Photoshop and results in more organic textures.
Once you get the hang of this, the sky is the limit as to the materials you can use and textures you can create. And, when you have them scanned, you can combine textures to get even more variety.
I think that adding these textures to design projects can make any piece stand out.
Tools: acrylic paint, watercolor paints, colored pencils, charcoal, paper, cardboard, etc.
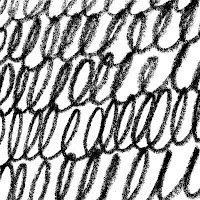
(top left: paint splatters/drips and loop texture created with pencil)
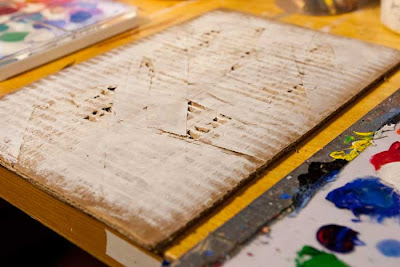
 For this texture, I decided to see what I could get out of cardboard. It has a kind of built in texture because of the layered nature of the product. I set to cut it up to expose the inside thinking I could get an industrial, decayed, worn type of texture. I cut up the surface with a utililty knife(careful, that blade is sharp) and peeled off random sections to reveal the cardboard structure below. I then painted the surface white kind of skimming the surface to reveal more of the texture. This method is called "scumbling" in painting lingo. I used white because I wanted the lines cut into the cardboard to be black in the final version of the texture.
Textures used in my illustration work.
From a series of textures that I call, "Acid Wash"


No comments:
Post a Comment